This is part 3 of the first floor bathroom remodel.
See previous entries: Part 1; Part 2.
Since the last entry the bathroom has been painted on one side only. The old sink and toilet were cleaned/refurbished and were installed along with new water shut-off valves and bendable, rather than corrugated, water supply lines. The bendable smooth water supplies are more period correct than the flexible braided type found at big box stores.
The water supplies and shut off valves came form
Signature Hardware and repeat the cross-handles found on the shower hardware.
 |
| Before ... ugh |
 |
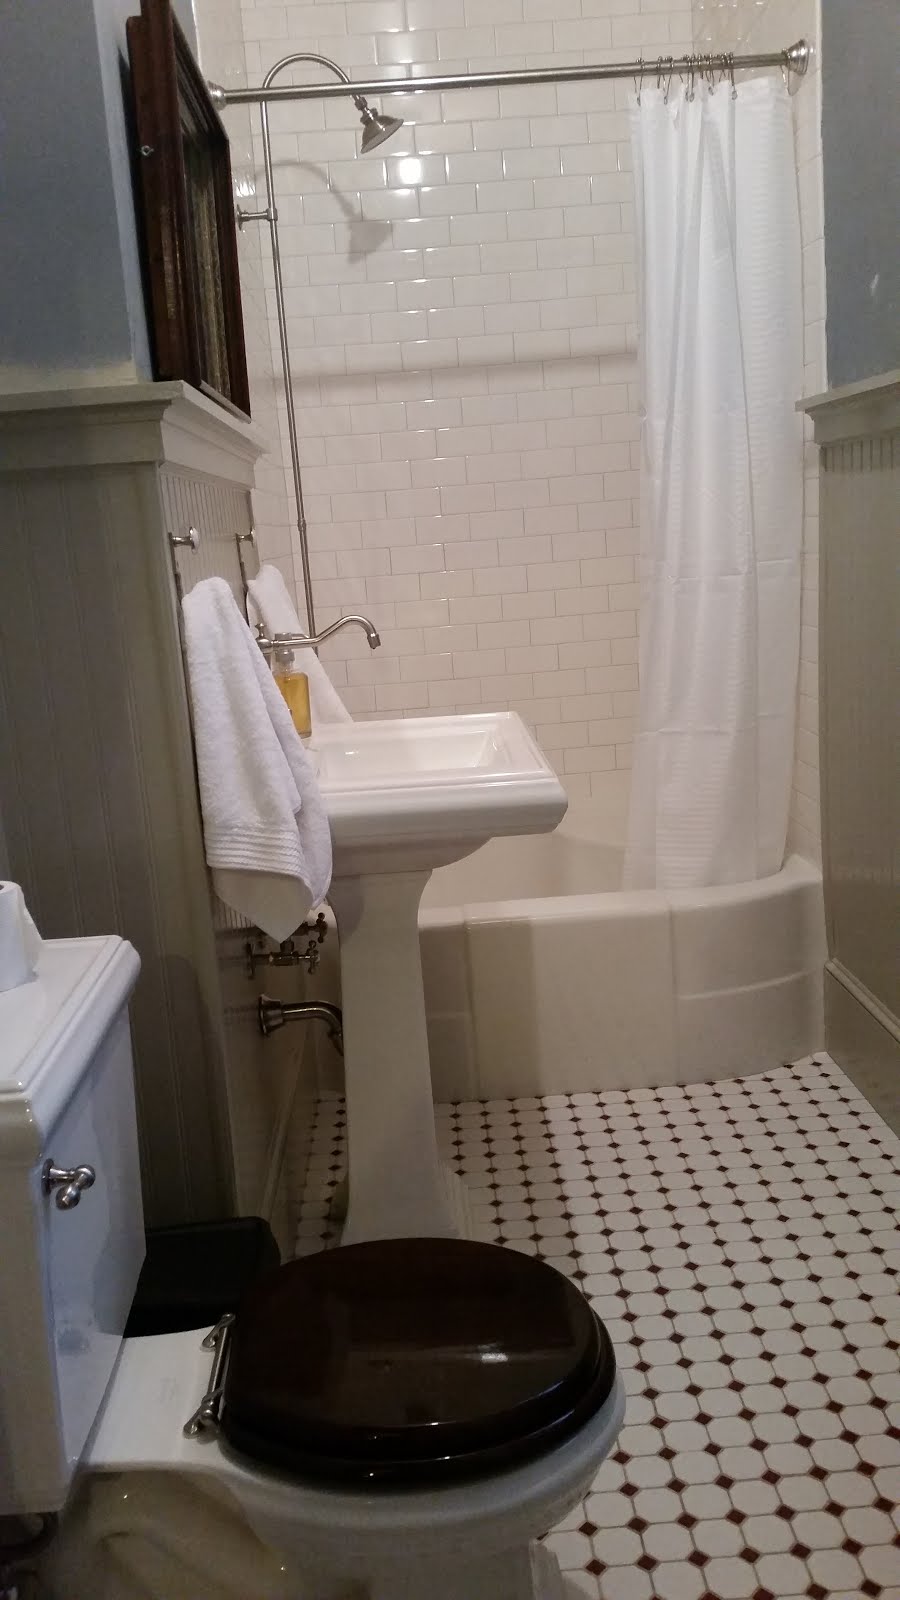
| After ... sans wall paper - yet to be installed. |
Why didn't you just paint the whole room and then install the fixtures?
Really, if I was only concerned with keeping the room on track, I would have painted all at once. We had to make this first floor bathroom usable for a holiday party. this limitation gave me a chance to show off the unfinished side's structure. I think that it's educational for guests to see and ask about the "during" phase of home restoration. They often believe that home restoration is mystical or too hard and in this way can see how simple and straightforward it can be. Maybe, hopefully, they will even rethink tearing out old historical features in favor of anything new (and probably with questionable taste.)
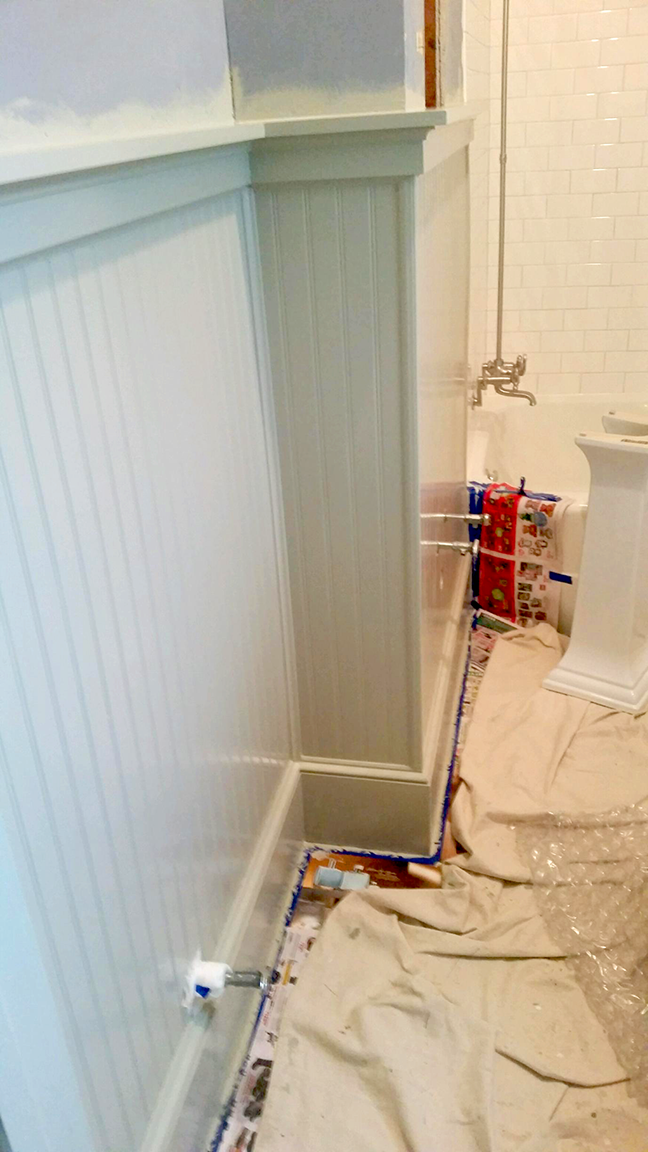
Below are a couple of photos of the finished paint, just before installing the fixtures.
The paint color, by-the-way, is a pale warm grey. It's very period and was used often in service areas. Sometimes referred to as drab (light drab in this case) it is utilitarian and easy to live with. It is the color of brushed nickel that has aged and obtained the smooth golden patina of 150 years. It is the color of dried straw that was left in the sun a bit too long. It is lovely and antique and modern all at the same time. It looks stunning with the pale pink ceiling and will carry into the adjacent hall and kitchen very well when we rework those areas.
 |
| The top part of the wall is primer. |
 |
| that bit of white paper towel is because we have to repair a leaking nipple connection for the toilet inlet line. |
 |
| This corner includes a new double outlet where a 1940s electric heater used to be. We couldn't figure out a good spot to mount the toilet paper holder so we got a free-standing one. |
 |
| In order to save a few dollars we didnt tear out the floor - plus its appropriate to the era. I don't care for the maroon tiles, so to lessen the impact I am adding dark walnut things to the room - a couple of mirror frames and a cool toilet seat I found. |
 |
| Reused the old sink with a new faucet. |